1.5.4 - Command-Based Code
1.5.4 - Command-Based Code
Section titled “1.5.4 - Command-Based Code”Objective: Download, build, and deploy a basic Command-Based template to drive the XRP robot using a PS4 controller.
View Source Code on GitHub :material-github:
🛑 Prerequisites Before downloading the code, ensure your environment is set up:
- WPILib VSCode: You must have the official FRC WPILib version of VSCode installed. Do not proceed until this step is complete.
- PS4 Controller: Connect a PS4 controller to your computer via Bluetooth so you can drive wirelessly.
- Note: The current code relies on the PS4’s Triangle/Square/Circle/Cross layout. If you use a different controller (like Xbox), you will need to rewrite the controller bindings in the code.
🚀 Step-by-Step Deployment
Step 1: Download and Prepare the Code
- Download the repository as a ZIP file from the link above and unpack the folder.
- Open the unpacked folder using VSCode.
- Stay connected to your normal Wi-Fi. VSCode must download necessary WPILib dependencies from the internet the first time you open the project.
Step 2: Connect to the XRP
- Turn on the XRP robot and wait for it to boot.
- Switch your computer’s Wi-Fi network from your home/school internet to the XRP’s broadcasted signal.
- Password:
xrp-wpilib
Step 3: Build and Simulate To drive the XRP, we use the WPILib Simulation GUI, which acts as a virtual Driver Station.
- Click the WPI Logo in the top right corner of VSCode (or press
Ctrl+Shift+P/Cmd+Shift+P). - Type and select “Simulate Robot Code”.

🎮 Step 4: Time to Drive
Once the simulation GUI loads, you are ready to connect your controller and enable the robot.
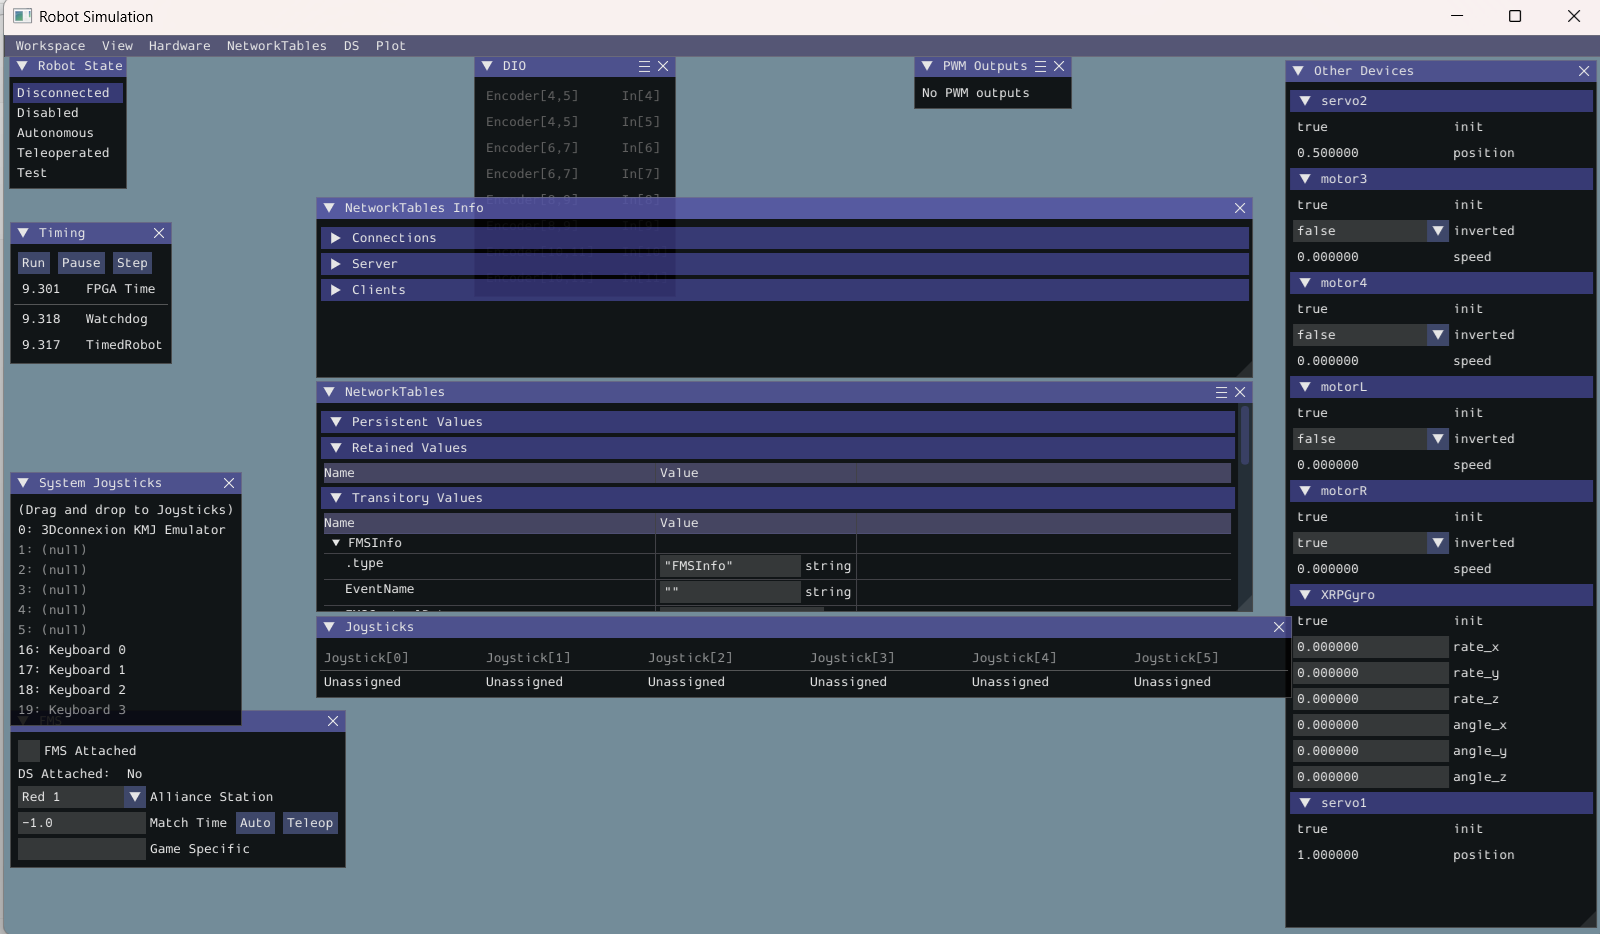
- Assign your Controller: Look at the “System Joysticks” window. Drag and drop your connected PS4 controller into the Joystick (0) slot (unless you assigned a different port in your code).
- Enable the Robot: Under the “Robot State” window, select Teleoperated.